On this page
The toileting visual schedule, step by step
A toilet training visual schedule has 8 or 9 pictures in a row: pants down, sit on the toilet, pee or poop, wipe, pants up, flush, wash hands, dry hands, all done. Use the same pictures and the same order every time, so the strip becomes the routine.
Spoken prompts are hard to process in a bathroom full of echoes, fans and cold seats. A picture strip stays put: your child can look at it, you can point at it, and nobody has to say “pull up your pants” for the fifth time. Over weeks you fade your pointing and the strip does the prompting on its own.
Copy the strip below, or build your own in the visual schedule maker with photos of your own bathroom. Laminate it, stick it at eye level next to the toilet, and put a second copy of steps 7 and 8 above the sink. For a whole-day version with “toilet” as one stop between breakfast and play, use the visual schedule printables.
- Left to right, one row. If your child gets lost, cut it into two rows of four or five, or show one picture at a time on a flip ring.
- Let your child move a clip or turn over each picture when the step is done. Touching it keeps their attention on the strip.
Is my child ready? Readiness signs for toilet training
Your child is ready to start when they stay dry for about 1 to 2 hours at a time, poop at fairly regular times, can sit on a chair or toilet for a minute, and can follow a simple one-step direction or a picture. They don’t need to talk or tell you they need to go.
The AAP lists readiness signs for all toddlers, and most children show them between 18 months and 3 years. Many autistic children train later, at 4, 5 or older, often because of language, sensory or motor differences rather than ability. Waiting for your child to ask to use the toilet can mean waiting forever, so look for these body and skill signs instead:
- Dry diaper after a nap, or dry for 1 to 2 hours during the day.
- Bowel movements at roughly the same times each day.
- Hides, goes quiet or pulls at the diaper when peeing or pooping.
- Can sit for about a minute with a favorite toy or song.
- Helps push pants down and pull them up.
Task analysis and backward chaining, in plain words
A task analysis is the list of small steps that make up one skill, which is exactly what your picture strip is. Backward chaining means you help with every step except the last, teach that one until your child does it alone, then hand over the step before it.
Behavior analysts use this for any long routine (see the ABA therapy guide for how task analysis fits into a program). With toileting, the last steps are drying hands and “all done,” so your child always ends the routine on their own success.
Help with your hands on theirs, then a light touch at the elbow, then a point at the picture, then nothing. Step back one level of help as soon as they manage two or three times in a row. When the whole chain runs with only the strip as a prompt, your child is independent.
A schedule-based toilet training plan
Schedule-based toilet training means taking your child to sit at set times, usually every 30 to 90 minutes, for 3 to 5 minutes each time, and rewarding any pee or poop in the toilet straight away. You lengthen the time between sits as your child succeeds.
This is the approach most autism toileting programs use, from the ATN/AIR-P parent guide to clinic-based ABA. It works because it doesn’t depend on your child noticing or telling you they need to go. They learn the routine first, and body awareness follows.
- 1Switch to underwear during the dayCotton underwear lets your child feel wet. Keep diapers or pull-ups for night and long car rides only.
- 2Pick one big reward, only for the toiletA favorite snack, a sticker on a token board or 2 minutes of a special video. Give it within seconds of the pee hitting the toilet, while your child is still sitting.
- 3Set a timer for sitsStart with every 30 minutes if your notes showed short dry spells, every 60 to 90 minutes if longer. Sit 3 to 5 minutes, never longer. If nothing happens, follow the strip to the end and try again at the next timer.
- 4Offer a little extra to drinkAn extra cup of water or diluted juice in the morning gives more chances to practice. Don’t push large amounts of fluid.
- 5Record every sitNote the time, dry or wet pants, and whether your child peed or pooped in the toilet. Use the data sheet below or the ABA data sheets.
- 6Stretch the intervalAfter about three days with most sits successful and few accidents, add 15 minutes between sits. Keep going until your child starts to go, sign or point to the toilet card on their own.
A short toilet training social story
A toilet training social story is a short picture book that tells your child, in calm first-person sentences, what happens when they use the toilet and why. Read it once a day at a quiet time, not in the bathroom during an accident.
Social stories, developed by Carol Gray, describe a situation more than they instruct. Most sentences say what happens and how people feel, and only a few tell the child what to do. Use the six pages below as they are, or swap in your child’s name and photos. You’ll find the format explained, with more ready-made stories, in our social stories for autism printables.


Accidents, fear of flushing, standing to pee and constipation
Handle accidents calmly with as few words as possible, take your child to the toilet to finish, and help them change. For fear of flushing, let your child leave before the flush and build up slowly. For hard or painful poops, see your pediatrician before you continue.
These four problems stall more toilet training than anything else. Each has a fix:
- Accidents
- Expect them for weeks. Say “pee goes in the toilet,” walk your child to the toilet, point to the strip and sit for a moment, then change together without scolding. Mark it on the data sheet: a cluster of accidents at the same time each day tells you where to add a sit.
- Fear of flushing
- Start with you flushing after your child leaves the room. Then flush while they stand in the doorway, then with the lid down while they press the button. In public restrooms, cover the auto-flush sensor with a sticky note and bring ear defenders.
- Boys and standing
- Teach boys to sit for both pee and poop first: it is one routine, and poop often comes during a pee sit. Move to standing once sitting is reliable, by watching dad or a brother and aiming at a piece of cereal in the bowl.
- Refusing to poop in the toilet
- Many children pee in the toilet but ask for a diaper to poop. Let them wear the diaper while sitting on the toilet, then loosen it, then cut a hole in it. A footstool under the feet helps the body push.
Free download3 PDFs
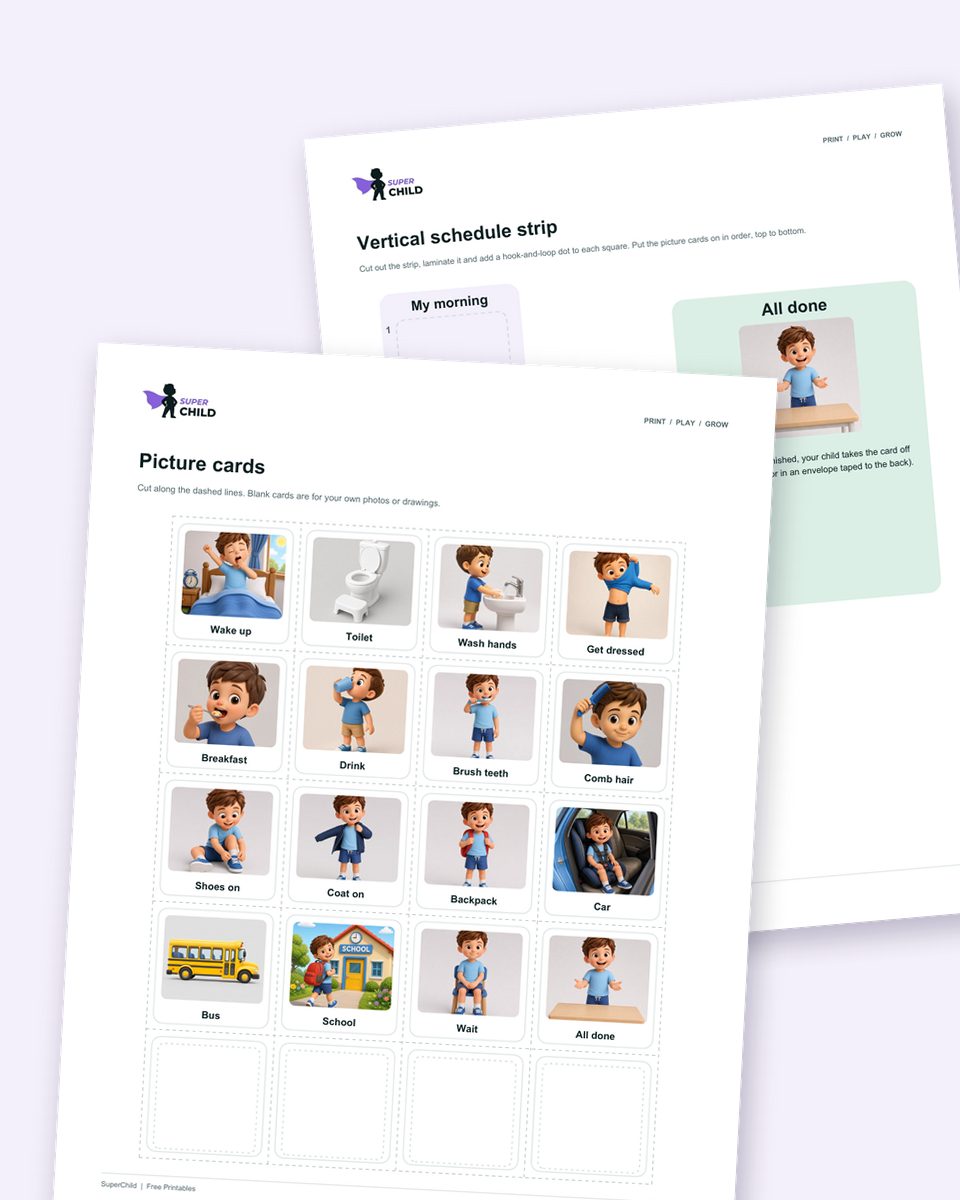
Get the free visual schedule pack
Morning and bedtime routines plus picture cards for the whole day, with strips, a parent guide and a log.
Sources
Cite this page
Citation (APA style)
SuperChild. (2026). Potty training visual schedule: the steps, a social story and a plan that works for autistic kids. Retrieved from https://superchild.ai/blog/potty-training-visual-schedule
Link for your website
<a href="https://superchild.ai/blog/potty-training-visual-schedule">Potty training visual schedule: the steps, a social story and a plan that works for autistic kids</a> (SuperChild)