
What is visual perception, and what do these activities practice?
Visual perception is how a child makes sense of what they see: noticing what is the same, what is different, what is missing and how parts make a whole. Visual perception activities practice this through match to sample: your child sees a sample, looks at the choices, and picks or builds the one that is the same.
In the packs that sample can be a picture, an outline, a color, a shape, a half-finished pattern or a whole block design. If your child is new to matching, start with the matching activities for identical pictures first.
None of these activities need speech. Your child shows the answer by pointing, placing a card or putting tiles on a grid. That makes them a good fit for a child who understands more than they can say, and a calm way to start a session before harder listening work.
They also train looking carefully before acting. A child who grabs the first card will get the outline of a spoon wrong when the choices include a fork. Slowing down to scan is part of the skill.
Visual perception worksheets by skill
The nine visual perception worksheets each work on one way of looking: seeing a familiar thing in a new form, searching a busy page, spotting what is missing, building a whole, spotting a rule or grouping. Use this list to pick a starting point, or to match a pack to a goal your child's therapist has set.
- Seeing the same thing in a new form: Match Outlines to Objects.
- Searching a busy page: Find Visual Matches in Clutter.
- Spotting what is missing: Find the Missing Part.
- Putting parts into a whole: Assemble a Picture Puzzle and Copy a Block Design.
- Spotting a rule: Continue Alternating Patterns.
- Grouping by how things look: Sort by Color with Examples and Sort by Shape with Examples.
- From looking to listening: Find Objects by Color.
How to copy a block design and assemble a picture puzzle
Copy a Block Design is a visual perception task where your child copies a colored model onto an empty grid. Print the model and the grid, then cut out the colored square tiles. Keep the model visible, put the mixed tiles in a small pile, and say once: "Make the same design."
A correct response means every cell matches the model in shape and color, and the empty cells stay empty. If your child gets stuck, help with one cell at a time. Point to the top left cell of the model, then the top left cell of the grid, and let your child find the tile. Do not place tiles for them. Keep the grid the same way round every time, so the task stays about where things go and not about turning paper.
Assemble a Picture Puzzle works the same way with a picture cut into 9 pieces. Scramble the pieces before every attempt and say, "Put the picture together." During teaching you can show one corner or one edge. During the check, cover the intact picture. You are watching your child rebuild it with the cut pieces, so it only counts if you saw it happen.
Paper-only worksheets: outlines, missing parts and clutter
Three of the visual perception worksheets are paper only: Match Outlines to Objects, Find the Missing Part and Find Visual Matches in Clutter. They are the easiest packs to start tonight, because each one asks only for a pencil and a sheet of paper to cover the rounds you are not using.
- Match Outlines to Objects: put the black outline above the picture choices and say, "Match the outline." The first answers are a toothbrush, a chair and a spoon. If your child hesitates, trace the outline once with your finger without touching any choice.
- Find the Missing Part: a teapot without its lid, scissors without a finger loop, a shirt without a button. Say, "Give me the missing part." Point to the gap in the picture, never to the answer.
- Find Visual Matches in Clutter: one sample picture and a busy page full of others. Say, "Match the same picture," then wait. Start on a less crowded layout and give your child time to scan. Never point to where it is.
Pattern activities and sorting with examples
Continue Alternating Patterns uses simple A-B-A-B rows of colored shapes. Tap along the row once from left to right, then say, "Give me what comes next." The choices sit apart from the row so their order does not give the answer away. When the two-item rule is easy, keep the rule and change the colors or shapes.
For the two sorting packs, set out two trays or two marked spaces on the table, each with a model card. Hand over one shuffled card at a time and say, "Put the same colors together," or, "Put the same shapes together." A typical color round has a white ball, white car and white cup going to one side, and a black hat, black book and black flower going to the other. In the shape pack, watch out for cards that also share a color, because then your child can sort by color and look right for the wrong reason.
Find Objects by Color is the bridge to listening. Your child hears "Tap the yellow ball" and has to get both the object and the color right. Speech is not needed, and it carries over easily to snack time: "Find the red cup."
Visual perception in occupational therapy and at school
Visual perception is often an occupational therapy goal as well as an ABA one. An occupational therapist may work on the same skills through puzzles, copying and scanning, so the packs fit next to OT, speech therapy and classroom work. Ask your child's team which skill they are targeting, and start with that pack.
In UK schools these are typical table tasks for a pupil with SEND, and a teaching assistant can run them during independent work. In Australia the same practice can sit next to occupational therapy funded through an NDIS plan. Share the log, so everyone sees which skills are solid.
Keep sessions to a few minutes, and stop or take a break as soon as your child wants to. Each pack has six practice rounds and six separate check rounds. In the check, record your child's first response, with no pointing and no hints between attempts. A printed check is a snapshot, not an assessment.
How to do visual perception activities at home
To do visual perception activities at home, print one pack, show one round at a time and set out a visible model. Say the instruction once, such as “Make the same design,” and let your child point, place a card or put tiles on a grid. Help during teaching, then check separately.
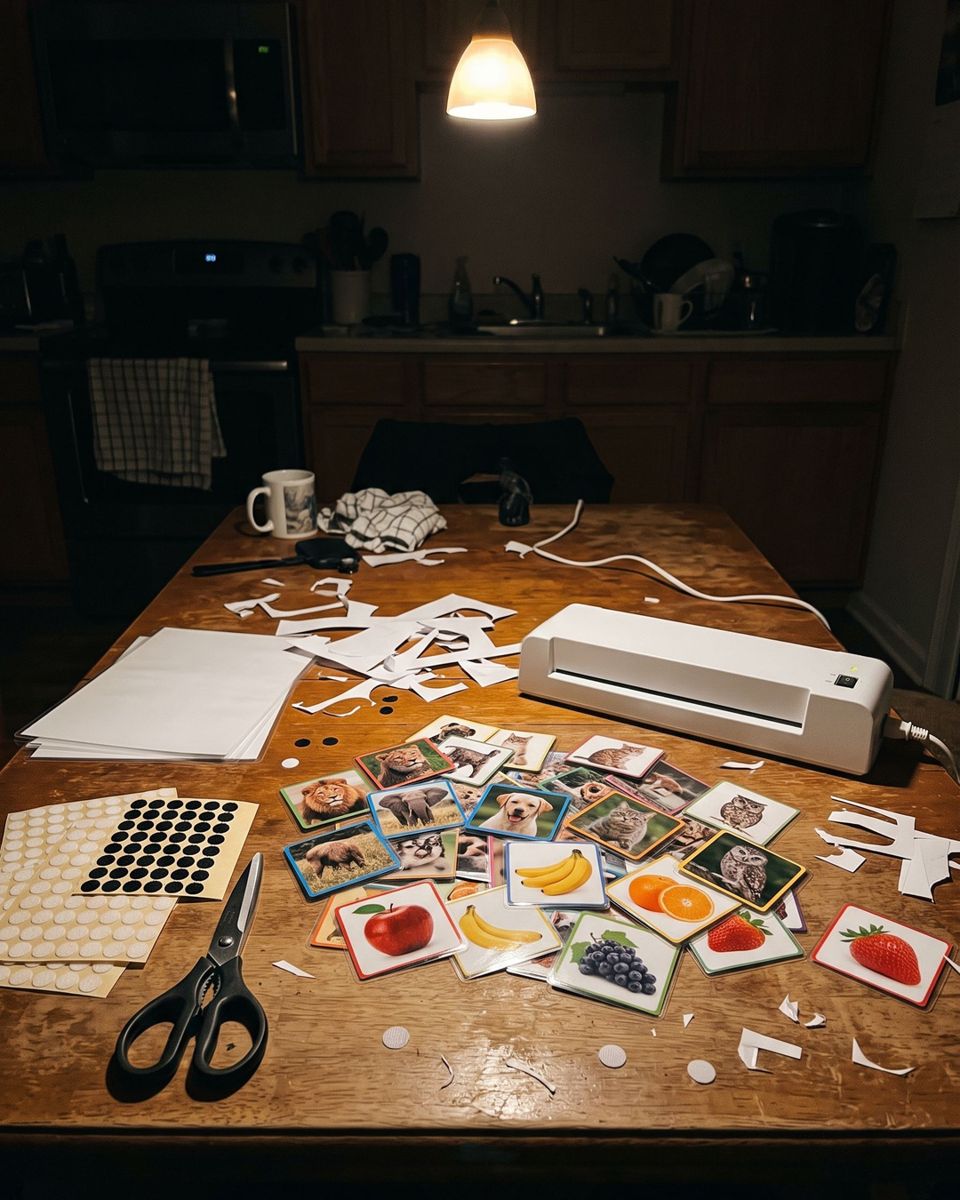
- Pick one pack that matches your child's goal, print it in color where the pack uses color, and cut out the cards or tiles. Cut once and reuse them for weeks.
- Set out one round at a time and cover the others. Keep the adult answer guide out of sight.
- Start with fewer choices or a less crowded page, put the model or sample where your child can see it, and say the instruction once.
- Help during teaching by pointing to the sample, tracing an outline or showing one cell of a block design. Never place the answer for your child, and help less on the next turn.
- Shuffle positions between turns, and stop or take a break as soon as your child wants to.
- Run the six check rounds separately, record the first response only, and read the log to decide whether to add choices or go back a step.